01
Excavate
Prepare a suitable opening for the 90cm reservoir, allowing
additional depth for the concrete foundation beneath it.
02
Create the concrete base
Form a firm, level concrete pad beneath the complete reservoir
area and allow it to cure before continuing.
03
Position the reservoir
Sit the 90cm reservoir level on the concrete foundation. Keep
its upper edge slightly above surrounding soil level to help
prevent soil and surface water entering the pool.
04
Add internal supports
Position suitable brick supports inside the reservoir directly
beneath the intended stone position and build them up to the
underside of the support grid.
05
Install pump & pipework
Position the pump inside the reservoir where it remains
accessible and connect the water hose and LED to the pre-drilled stone.
06
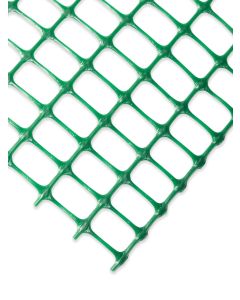
Fit the heavy-duty grid
Position the support grid securely across the reservoir so
it bears correctly onto the brick supports beneath.
07
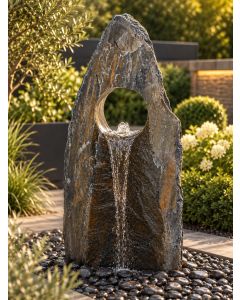
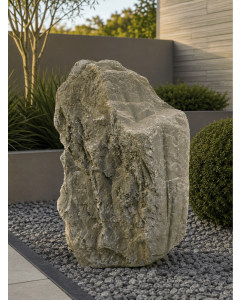
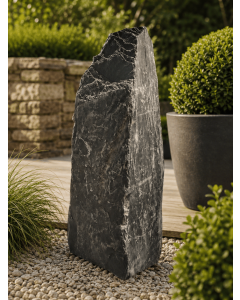
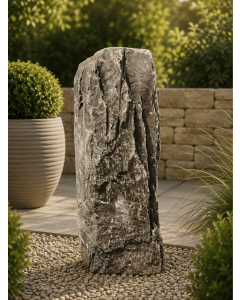
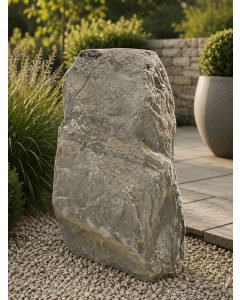
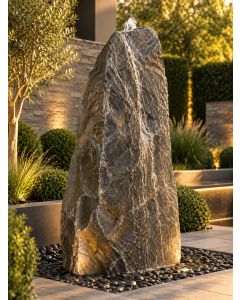
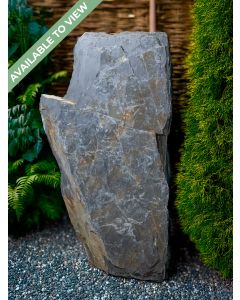
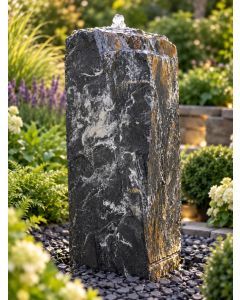
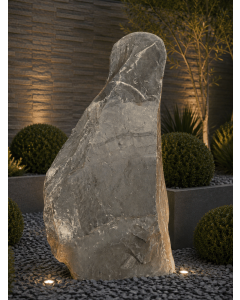
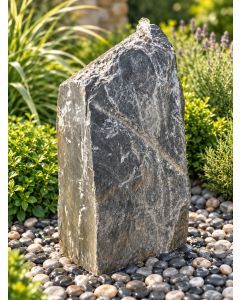
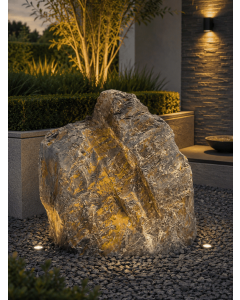
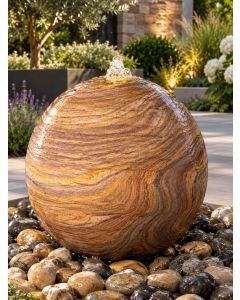
Position No. 160
Carefully lift and position the hololith above the supported
section of grid. Suitable lifting equipment and sufficient
assistance may be required.
08
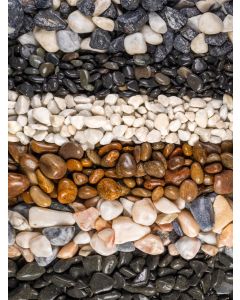
Finish the surface
Conceal the visible grid with your chosen decorative pebbles
while maintaining access to the pump for future servicing.
09
Fill & enjoy
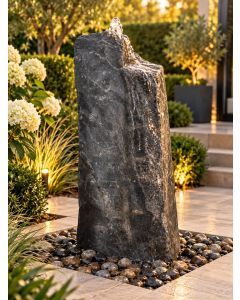
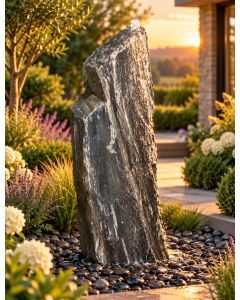
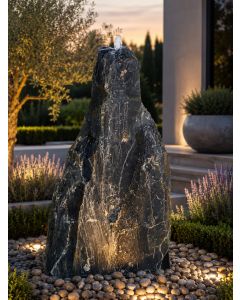
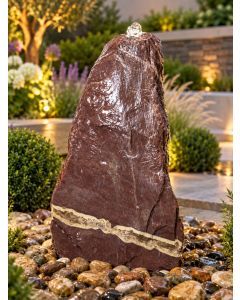
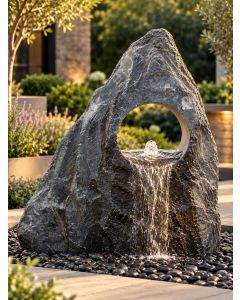
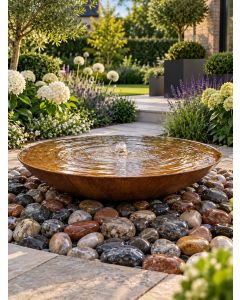
Fill the reservoir and start the pump. Water rises through
the stone, travels across the natural slate and returns to
the hidden reservoir below.